
It’s almost Halloween, and that means that my cannabis is almost cured. I harvested my first cannabis this year on September 5, finishing on October 1. For those of you growing in the northern latitudes, with later harvesting, your cannabis may just be starting to cure. So, just what does it mean to cure our bud and why do we do it? What’s the difference between drying and curing cannabis?
For most home growers, drying is the primary method by which we preserve and store our amazing cannabis bud. As I outline in The Cannabis Gardener, drying is a simple process. Time consuming, but simple! After your cannabis plant is mature, and the buds are sparkly with resin, clip the branches, strip off all or most of the leaves allowing the bud to remain attached to the stem. Hang the branches in a dark room with good airflow and allow the bud to dry for a week or so. Monitor humidity and temperatures for evenly based drying. When the branches snap rather than bend, your bud is ready to store for the cure. For more detail, read The Cannabis Gardener.
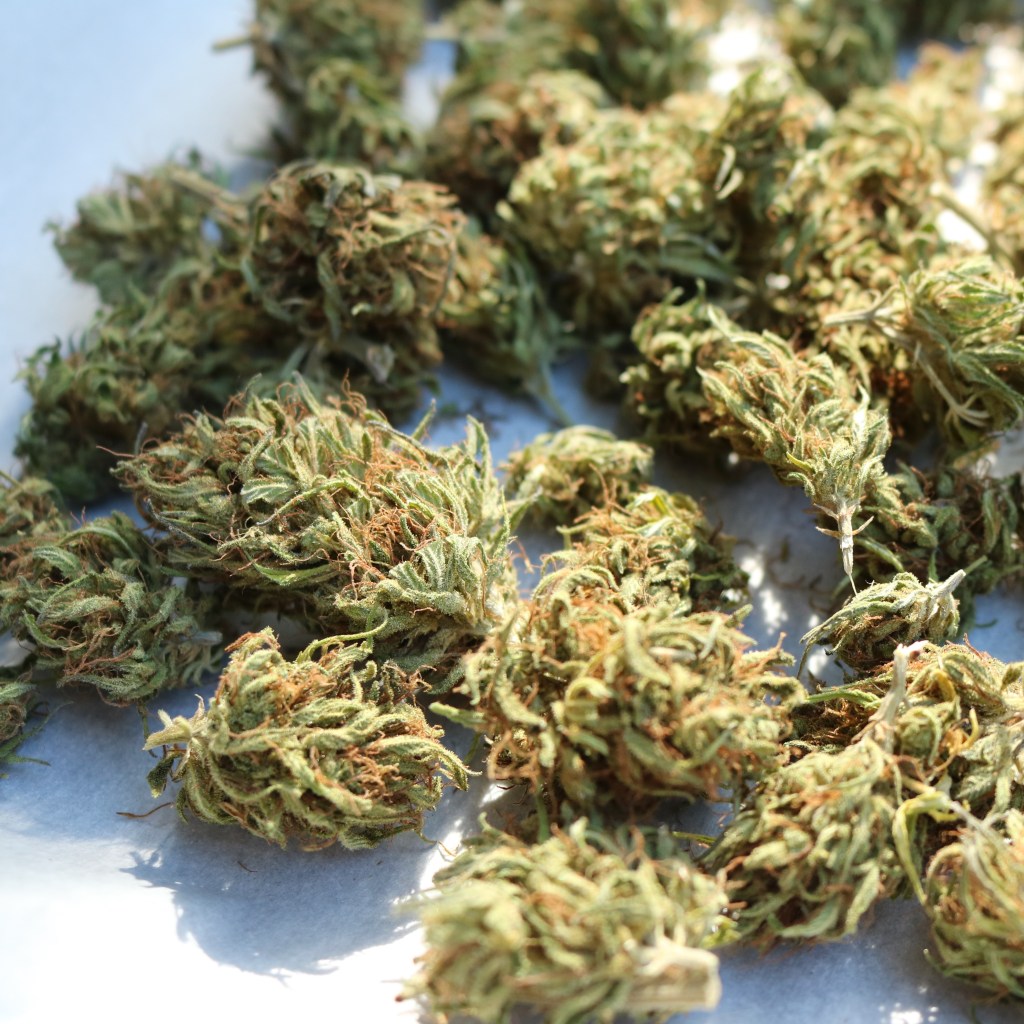
Curing the cannabis is the next phase in preparing your dried cannabis bud for long term storage. Curing is an important step for creating the best quality bud with the longest storage time, and ensuring a smooth, tasty smoke or vape experience. Caveat: you don’t need to cure fresh or frozen cannabis intended for preparations that utilize fresh or frozen weed. Curing is just for dried bud.
Dried cannabis bud is dead, but still biologically active. There are all sorts of enzymatic processes at play as this plant material changes over time. The curing process creates a stable, oxygenated environment in which starches and sugars remaining in the bud are allowed to be used up by naturally present aerobic bacteria. Chlorophyll is also given time to break down. During the curing process, moisture is allowed to slowly and evenly distribute throughout the whole of the dense dried bud, helping to stave off future mold growth. The ideal moisture content for your dried but is between 10% – 15% of total weight, BTW. Dry, but not totally desiccated.
How to cure:
After packing your dried cannabis bud into appropriate containers, you’ll need to provide air to the packages on a regular basis during the curing stage. For most of us home growers, we’ll pack the dried cannabis into sealable, airtight glass jars or mylar bags. These are great for long term storage, but you’ll need to burp the containers during the curing stage to allow for oxygenation. For the first week, open every container each day. Take the time to smell your weed each day! Not only is this fun and delicious smelling, this is also an opportunity to determine whether or not there is mold growing in your weed. Don’t underestimate the power of your nose — we walk around every day with an exquisitely sensitive chemical detector right in front of us. If you get a whiff of mildew, or mold, or something just smells weird about one of your bags of weed, then take it right out of the package and visually inspect the bud. Maybe you’ll need to allow the bud to dry some more before placing it back into the jar or bag. And certainly if you see any moisture condensing inside the container, whip that bud out and allow it to dry before repacking. Honestly, I’ve never had a problem with mold/moisture – but that’s probably because I grow weed in a dry climate — not because I’m particularly meticulous. If you live in a humid environment, be especially vigilant about moisture levels in your bud, especially at the beginning of the curing stage.
After the first week, you can move to burping your containers every three days for the next couple of weeks. Then after a month, your bud is cured and ready for long term storage — or smoking, vaping, and using in tinctures and oils. Congratulations! You just completed the harvest.

Leave a comment